BLOG / HOW TO
How to Remove Kitchen Cabinets Without Wrecking Your Walls
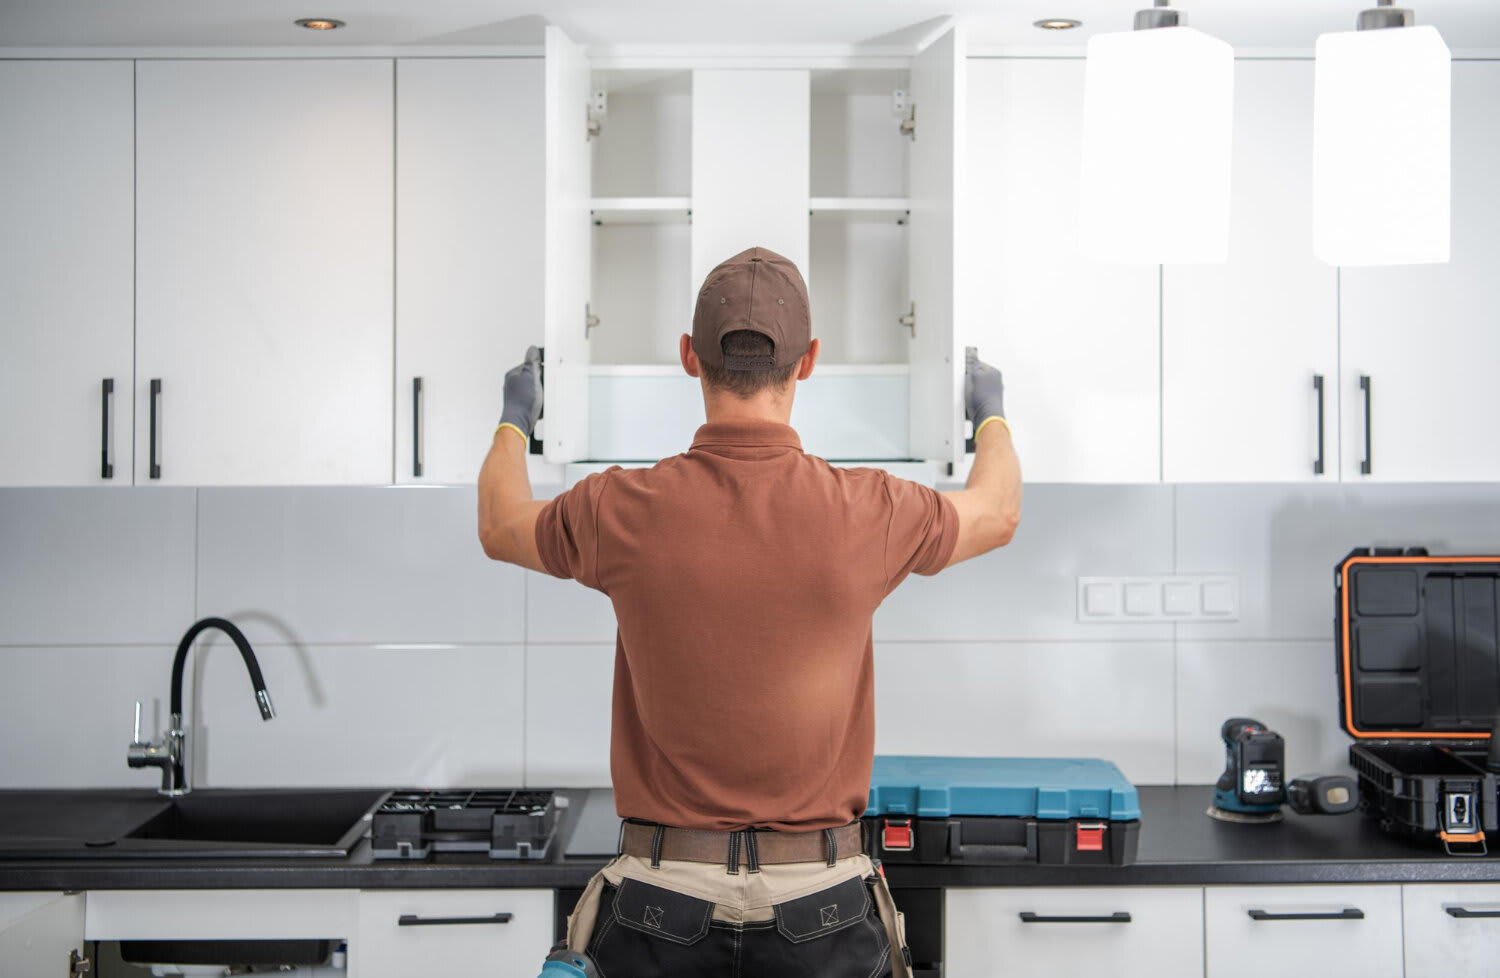
If you're staring down a kitchen remodel, cabinet removal is usually the part that feels the most intimidating. It doesn't have to be. Once you understand how cabinets actually attach to your walls, taking them down is mostly patience and the right order of operations, not brute force. Most homeowners can clear a standard kitchen in half a day to a full day, and doing it yourself instead of paying a contractor for a demo alone can save you several hundred dollars, though you'll still want a plan for getting the old cabinets and debris out of the house once they're down.
This guide walks through the whole process, from gathering tools to dealing with cabinets that seem to have no screws at all, plus what to actually do with the old cabinets once they're out of your kitchen.
What you'll need before you start
You don't need a full contractor's toolbox for this job. Here's what actually gets used:
| Tool | What it's for |
|---|---|
| Cordless drill/driver | Backing out screws without stripping them |
| Putty knife | Breaking the caulk seal between cabinet and wall |
| Flat pry bar | Working cabinets away from the wall once fasteners are out |
| Utility knife | Scoring caulk or paint lines before prying |
| Screwdriver set | Hinges, hardware, and any screws your drill can't reach |
| Stud finder | Confirming where cabinets are anchored |
| Headlamp or work light | Seeing into the dark back corners of upper cabinets |
If you're hoping to donate or resell the cabinets afterward, add a few plastic bags and a permanent marker to the list so you can keep hardware sorted by cabinet.
Safety steps to take first
Before anything gets unscrewed, empty every cabinet and drawer completely. A loaded cabinet is heavier and more awkward than you'd expect, and the last thing you want is dishes shifting mid-removal.
If your cabinets sit near the sink or have any built-in lighting, shut off the water supply and flip the breaker for that circuit. Older kitchens sometimes route outlets or under-cabinet wiring right through the cabinet boxes, so a voltage tester is worth the five extra minutes it takes to check. Wear safety glasses and gloves throughout, since old cabinet screws are notorious for stripping or snapping under pressure.
One safety note that's easy to overlook: if your home was built before 1978, there's a real chance the cabinet trim or surrounding walls have lead-based paint underneath newer coats. Sanding, prying, or breaking painted surfaces can release lead dust, so the EPA advises sealing off your work area to keep dust contained rather than letting it spread into the rest of the home. It's a quick precaution and it matters most for households with young kids.
Step 1: Take off doors, drawers, and trim
Start by removing every door and drawer. This does two things: it makes the cabinet box dramatically lighter, and it exposes the interior screws you'll need later. Most hinges unscrew directly from the cabinet frame with a screwdriver or drill. If your cabinets use hidden clip-style hinges, look for a small release tab on the hinge arm rather than forcing it, since these clips are designed to pop off rather than unscrew.
Pull drawers straight out once you've released the slide mechanism, and set them somewhere out of the way. If there's decorative trim, crown molding, or valance pieces along the top of the cabinets, gently work a small pry bar behind it to pop it free before moving further into the job.
Step 2: Disconnect plumbing and electrical
If cabinets surround your sink or dishwasher, this step comes before you touch a single mounting screw. Shut off the water supply valves under the sink, then disconnect the supply lines and drain trap with an adjustable wrench. Keep a shallow bucket handy since there's almost always some water left in the trap.
For any built-in lighting or outlets inside the cabinet boxes, confirm the power is off with a voltage tester, then disconnect the wiring at the junction. This is also the point to fully empty the cabinets if you haven't already, since it's much easier to work with lightweight, empty boxes than full ones.
Step 3: Find and remove the fasteners
This is the step that trips people up the most, mainly because cabinet screws aren't always where you expect them.
For upper cabinets, look inside the cabinet along the top and bottom back edges. Most wall cabinets are secured with three to four long screws driven through a mounting rail (sometimes called a cleat) into the wall studs behind them. A stud finder helps confirm you're looking in the right spot. Adjacent cabinets are also usually screwed to each other through the face frame, so check inside where two cabinets meet before assuming a unit is only attached to the wall.
For base cabinets, the same idea applies, just lower down. Screws typically run through the back top rail into the studs, and sometimes through the toe kick or side panels into neighboring cabinets as well.
If you can't find any screws at all, you're likely dealing with one of three setups:
-
Construction adhesive. Common in older or budget-built kitchens. Score along the cabinet edges with a utility knife to break the caulk or paint seal first, then work a pry bar into the gap and apply steady pressure. A heat gun can help soften stubborn adhesive, but keep it moving so you don't scorch the wall or cabinet finish.
-
A French cleat system. Instead of screws through the back panel, the cabinet hangs on an angled wooden strip mounted to the wall. If this is the case, the cabinet won't budge by pulling forward at all; it needs to be lifted straight up and off the cleat.
-
Screws hidden under covers. Some manufacturers tuck mounting screws behind small plastic or wood caps for a cleaner look inside the cabinet. Run your fingers along the top back edge to feel for anything that pops off before assuming there's adhesive involved.
Whichever setup you're dealing with, always start with the upper cabinets and work down. Removing the lowers first takes away the ledge you'd otherwise use to rest tools, brace a ladder, or catch a cabinet if it comes loose sooner than expected.
Step 4: Loosen and lift the cabinets away
With every fastener removed, gently rock the cabinet forward to break any remaining adhesive or paint bond. This is where having a second person really pays off, especially for upper cabinets, since one person can support the weight while the other backs out the final screw. Lower the cabinet down rather than letting it drop, and set it somewhere flat where the face frame won't get scratched or cracked.
For base cabinets attached to a countertop, decide up front whether you're keeping the counter. If you are, you'll generally need to unscrew the counter from the cabinet's top rail first rather than pulling the whole assembly out together.
Step 5: Patch, clean, and assess the walls
Once the cabinets are out, you'll usually find a mix of exposed screw holes, some dust, and occasionally a few dings in the drywall from the mounting rail. Fill holes with spackle and let it dry before sanding smooth. If you spot water staining or soft drywall behind the sink cabinets, it's worth addressing before new cabinets go in, since it's far easier to fix now than after the new units are anchored.
What to do with the old cabinets
Once they're down, you've got three realistic options: donate, recycle, or haul them out with the rest of your renovation debris.
If the cabinets are structurally solid, donating them is often the best move. Organizations like Habitat for Humanity ReStore accept usable cabinets, and it keeps solid wood and hardware out of a landfill. WeCycle can also pick up cabinets you're not keeping and route anything reusable toward local donation partners rather than the dump.
If the cabinets are damaged, particleboard, or otherwise not donation-worthy, they still don't need to sit in your garage for weeks. A construction debris removal pickup can take the cabinets along with the rest of your renovation mess, including trim, old countertops, and packaging from the new units, in one trip, which is usually faster and less hassle than renting and loading a dumpster yourself for a job this size.
Frequently asked questions
How long does it take to remove a full kitchen of cabinets?
Most standard kitchens take somewhere between four and eight hours for one or two people working carefully, depending on how many cabinets you have and whether you're trying to preserve them for donation or reuse.
Do I need to turn off the power before removing cabinets?
Yes, if there's any wiring, outlets, or lighting built into the cabinets. Even if you don't see obvious wiring, it's worth switching off the circuit for that section of the kitchen before you start prying anything loose.
What if a cabinet won't budge even after all the screws are out?
It's usually still glued or caulked somewhere you haven't found yet. Run a utility knife along every visible seam between the cabinet and the wall before reaching for the pry bar again.
Can I remove cabinets without damaging them if I want to reuse them?
Yes, as long as you take doors and drawers off first, back out screws slowly instead of forcing them, and avoid prying directly against the cabinet face. Cabinets that come apart cleanly are also much easier to donate.
Should I remove the countertop before or after the cabinets?
It depends on whether you're keeping the countertop. If you are, remove it first by unscrewing it from the cabinet's top rail. If it's coming out too, most people find it easier to detach the counter from the base cabinets and lift them out together in sections.
Once the old cabinets are out and the space is clear, the last thing you want is a pile of demo debris sitting in your kitchen while you wait on the new install. WeCycle can clear it all out in a single visit, whether that's a few cabinet boxes or a full kitchen's worth of renovation waste.
Sabbir Kabir is a content manager at WeCycle with over 5 years of experience in creating content about junk removal services, eco-friendly waste disposal, and sustainable recycling practices. Passionate about promoting environmental responsibility, Sabbir shares actionable insights to help homeowners and businesses adopt greener, cleaner waste management solutions.
Read our latest blog posts


Need junk gone fast? See pricing in your area
Enter your zip code to see if Wecycle operates in your location.