BLOG / OTHER
Retail Store Closure or Remodel: Removing Fixtures, Shelving, and Displays
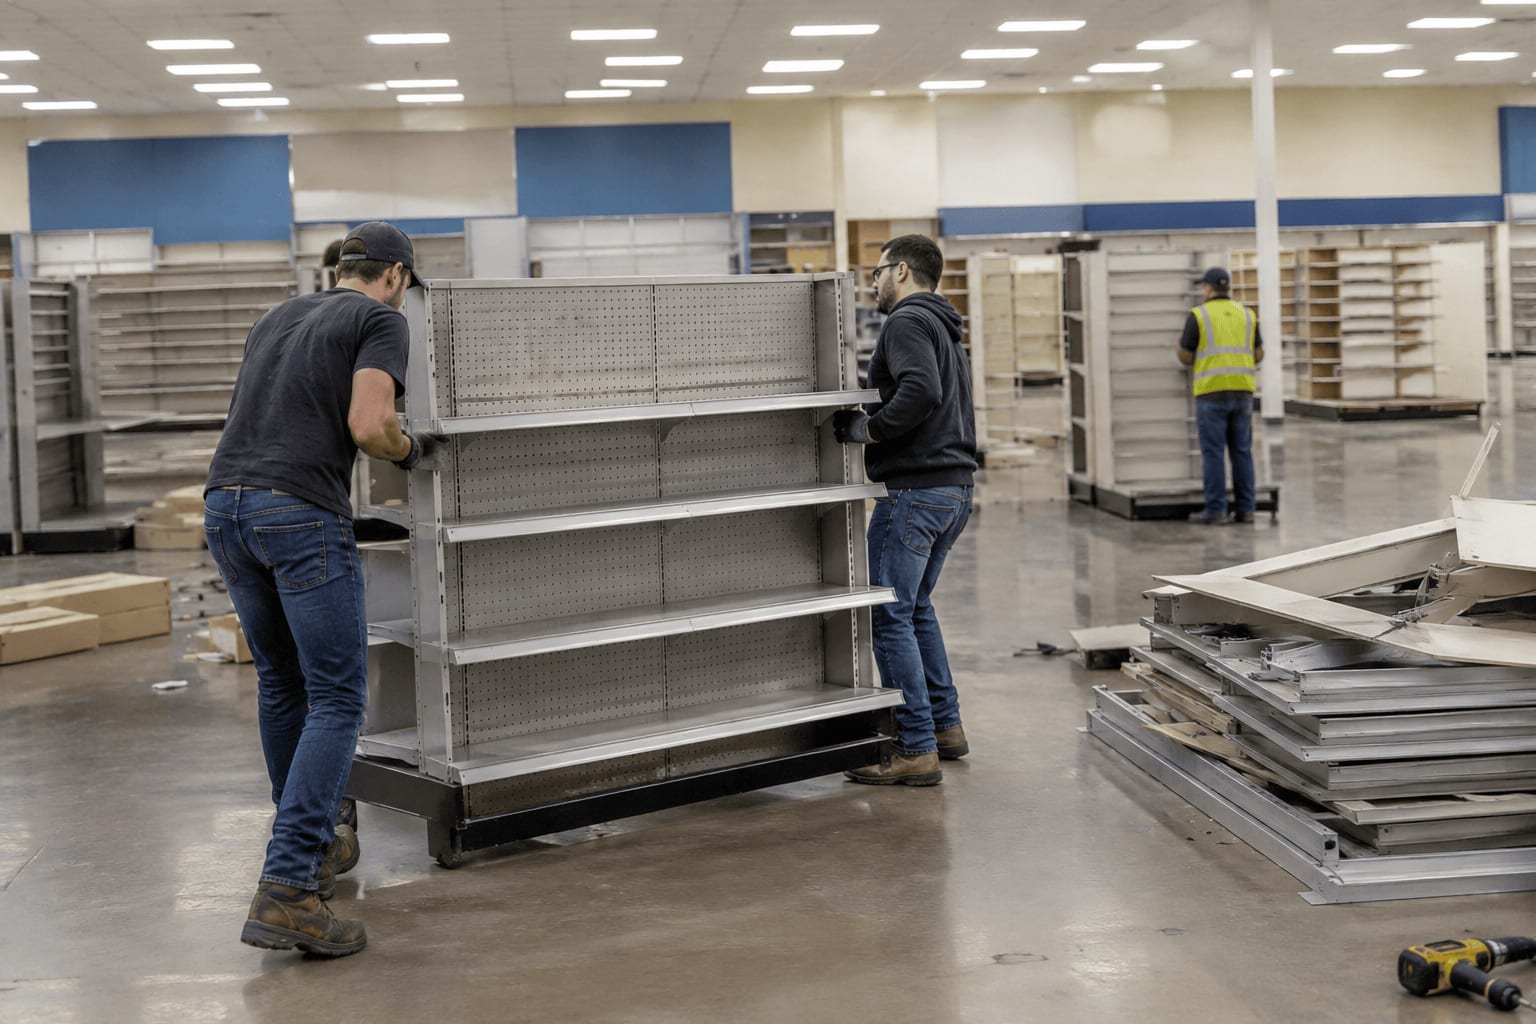
Retail Store Closure or Remodel: Removing Fixtures, Shelving, and Displays
Your lease date is set. The crew is booked. The shelves are still full. A retail store closure or remodel puts heavy pressure on a short timeline. Fixtures, shelving, and displays must leave on schedule. Delays cost rent. Delays also upset landlords and contractors.
Many owners underestimate the work. A store looks simple on opening day. It holds shelving, counters, racks, signs, and storage units. Some pieces weigh hundreds of pounds. Some pieces are bolted to the floor. Some hold card data or hazardous material. One missed detail can delay the whole project.
In this blog, you will learn what to remove, what to sell, and who to call. You will also see a timeline, a hiring checklist, and common mistakes. Each step is simple. Each step protects your time and your money.
Why a Retail Store Closure or Remodel Needs an Early Plan
Most owners start late. They wait for the final week. Every choice then feels urgent. Rushed choices cost money.
An early plan gives you options. You can sell items. You can move items to another store. You can donate items. You can hire help at a fair price.
Start with your lease. Read the removal and restoration clauses. Some landlords want a bare space. Others let certain fixtures stay. Ask for the rules in writing. Ask about loading docks, elevator use, and work hours. Malls often set strict hours. Many require proof of insurance from every vendor.
Next, set a calendar. Mark your last trading day. Mark the landlord inspection date. Mark the day your contractor arrives. Work backward from those dates.
What Leaves the Store
Every retail store closure or remodel reveals more items than the owner expects. A full list prevents surprises.
Fixtures and Shelving
Gondola shelving, wall units, slatwall, gridwall, and clothing racks make up most of the volume. Checkout counters and display cases follow. Store fixture removal starts with a walkthrough. Count each item. Take photos. Mark anything bolted to the floor or wall.
Freestanding units come out easily. Anchored units need tools and extra time. Built-in millwork may need a contractor. Large tear-out work may count as construction debris removal. Flag these items early. They change the price and the schedule.
Displays and Signage
Mannequins, window displays, lit signs, and branded graphics all need a plan. Branding needs extra thought. You may not want your logo on a stranger’s wall. Remove or cover the branding before any sale. Lit signs may need an electrician for a safe disconnect.
Back Room Items
Racking, desks, chairs, and filing cabinets sit behind the sales floor. Break room items count too. Add them to your list.
Payment Devices and Regulated Items
Payment terminals hold card data. Treat them as a security task. Your IT team should clear them first. Never mix them with shelving.
Batteries, aerosols, lamps, cleaning products, and old electronics are not ordinary trash. Keep them apart. Hand them to a licensed handler. Keep the paperwork. Check the what we take page to see which items a crew can haul.
Sort Every Item Into Four Groups
Sorting turns a pile into a plan. Use four groups.
Reuse
Check your other stores first. A gondola unit moved to another location saves a purchase. Reuse is often the cheapest result.
Sell
Used fixtures have value. A single gondola unit may bring $50 to $100. A full set of matching units brings much more. Buyers like matching colors, heights, and accessories. Discount stores, startups, and resellers often buy full sets. Sell the whole package to one buyer. Selling piece by piece takes months. It also fills your store with strangers.
Be careful with free removal offers. A hauler who takes everything for free also takes the value. Ask for a cash offer first.
Donate
Schools, churches, and nonprofits often need shelving and racks. Ask if they can collect the items. Ask for a receipt. Keep it for your tax records. Try to donate so that you can help others.
Recycle or Dispose
Metal and wood can be recycled. Send only the leftovers to disposal. This step lowers your disposal bill. It also reduces waste.
Keep the Space Safe During Removal
Safety matters on every job. Heavy shelving can tip. Sharp edges can cut hands. Glass cases can break. Plan for each risk.
Protect floors with boards or sheets. Cover door frames. Keep customers away from work zones. Post clear signs. Keep fire exits open at all times. Never ask untrained staff to lift heavy racks. Trained crews have the right tools and the right habits.
When to Hire Professional Help
Small jobs suit your own staff. A few shelves and a back office need little help. Larger jobs need a crew.
Commercial junk removal makes sense when the volume is high. It also fits a fixed deadline. A business cleanout service brings labor, trucks, and loading dock experience. Browse the full list of WeCycle services to find the right fit. The crew follows landlord rules. The crew can work at night. Your sales floor stays open until the last day.
A retail store closure or remodel across many locations is harder. One checklist should travel with the project. Every store then gets the same process.
Nothing is missed. A retail store cleanout planned this way also keeps your records in one place. Check the locations page to see where WeCycle works.
Questions to Ask Any Provider
- Do you carry insurance? Can you share proof?
- Can you work after hours?
- Do you remove bolted fixtures?
- How do you handle recycling and donation?
- Will I get a written quote before work starts?
- Will I receive records of where each item went?
What Affects the Cost
Volume is the first factor. Access is the second. Mall corridors and freight elevators slow a crew. Built in items add labor. Night work adds coordination. The number of stores matters too. Try the junk removal cost calculator for a first estimate. Then book a free quote with your photos and your list.
A Simple Timeline
Use this schedule as a starting point.
- Eight weeks out: Read your lease. Talk to your landlord. Count and photograph every item.
- Six weeks out: Sort items into the four groups. Ask buyers for cash offers.
- Four weeks out: Book your removal crew. Confirm access dates.
- Two weeks out: Clear payment devices. Separate regulated items. Mark items you are keeping.
- Removal week: Keep loading areas clear. Assign one person to supervise.
- After removal: Walk the space with your landlord. Collect receipts and records.
Protect Your Records and Your Deposit
Paperwork matters. It protects you after the crew leaves.
Take photos of the empty space. Take them from several angles. Keep donation receipts. Keep waste handling forms. Ask your provider for a written summary of what left the store.
Ask your landlord to sign off on the final condition. A signed note can protect your security deposit. It also ends arguments about damage.
Mistakes to Avoid
The mistakes that you must avoid are:
- Starting in the last week.
- Accepting free hauling without a cash offer.
- Mixing regulated items with regular trash.
- Forgetting the lease restoration rules.
- Leaving payment devices for the crew.
- Skipping records and receipts.
Final Thoughts
A retail store closure or remodel brings stress. A clear plan removes most of it. Start early. Count every item. Sort with care. Sell what has value.
Use professional store fixture removal for the heavy work. Call a commercial junk removal team or a business cleanout service for the rest.
Your store has served you well. Close it or change it with a plan, and your next chapter starts clean. Contact WeCycle to plan your project.
Tabassum Kabir is a content writer who enjoys digging into new topics and turning her findings into clear, useful content. She keeps her writing simple, honest, and easy to follow, making her work engaging for any reader.



Need junk gone fast? See pricing in your area
Enter your zip code to see if Wecycle operates in your location.